Installation
Step 1:
Unzip the downloaded zip file and upload the zip file socialite-installer.zip to your server.
Step 2:
Extract the uploaded zip file, and make sure all the contents of this folder are on your main directory to which your domain is pointing to.
Step 3:
Create a new database, assign the database to new/already existed database user.
Step 4:
Open the file .env and add the following details. If you are using apache server the APP_URL would be "http://example.com" and for any other server, it is "http://example.com/public"
APP_URL=your website url(example: http://example.com)
DB_DATABASE=your database name
DB_USERNAME=your database username
DB_PASSWORD=your database password
Step 5:
Open the installation URL in the browser. If you are using apache server the installation URL would be "http://example.com/install" and for any other server, it is "http://example.com/public/install"
http://example.com/install
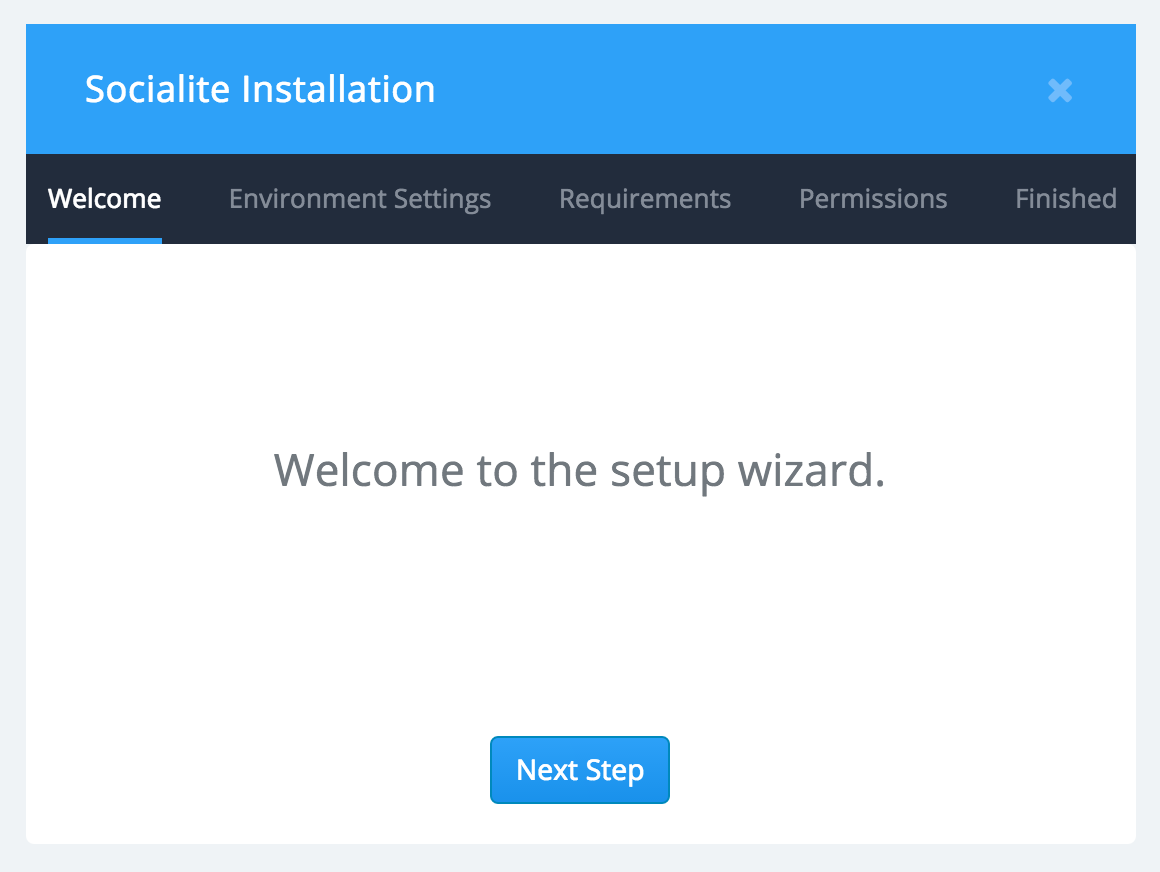
Now you will have a cool journey through out a small wizard as shown below.
Installation Wizard
Wizard Step 1:
Click the button "Next Step" to start the installation as shown below
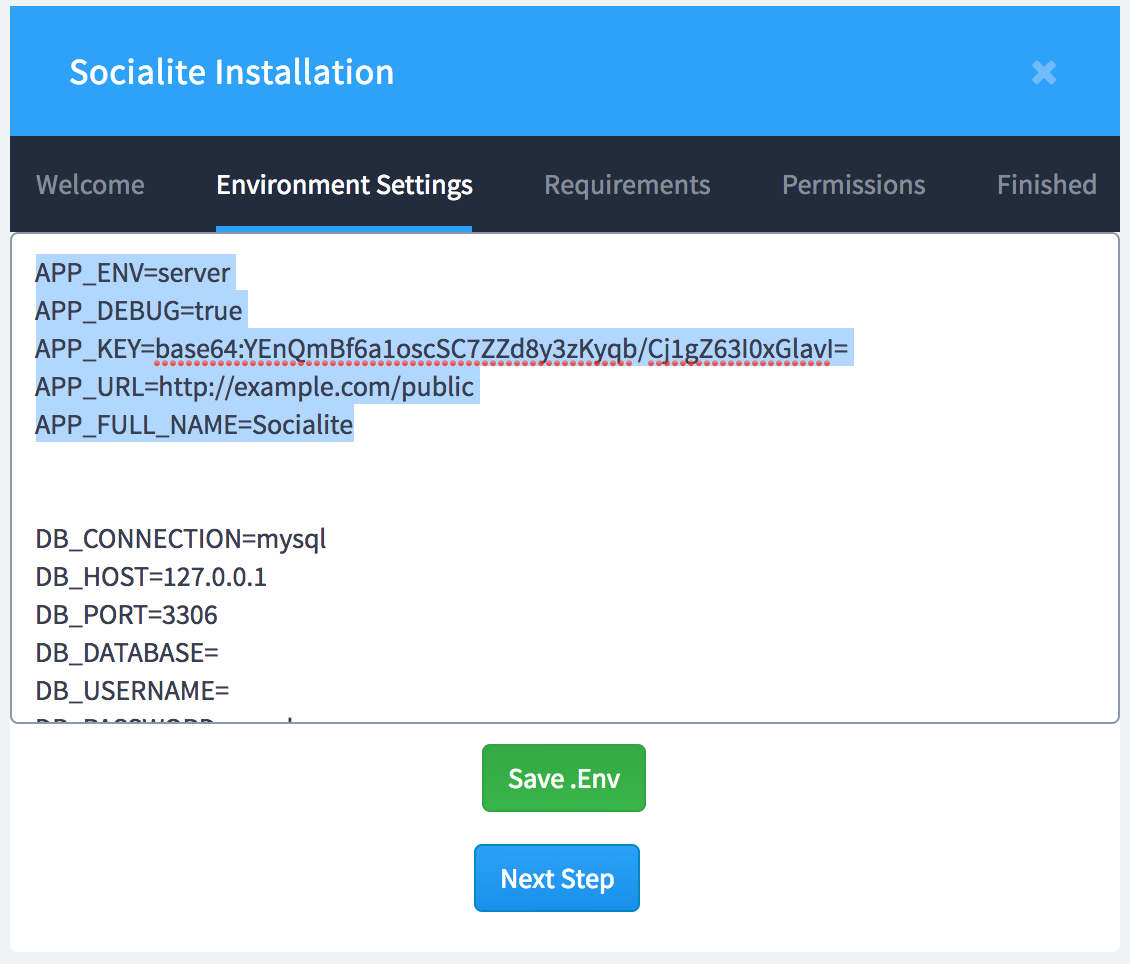
Wizard Step 2:
(a) The selected first 3 settings can be as it is as show in the below figure and you don't need to add anything.
For APP_URL, add your website URL in the place of example.com
For APP_FULL_NAME, you can mention your application name but it should be a single word without spaces, but you can use hyphen for words separation. Example: Socialite-Application
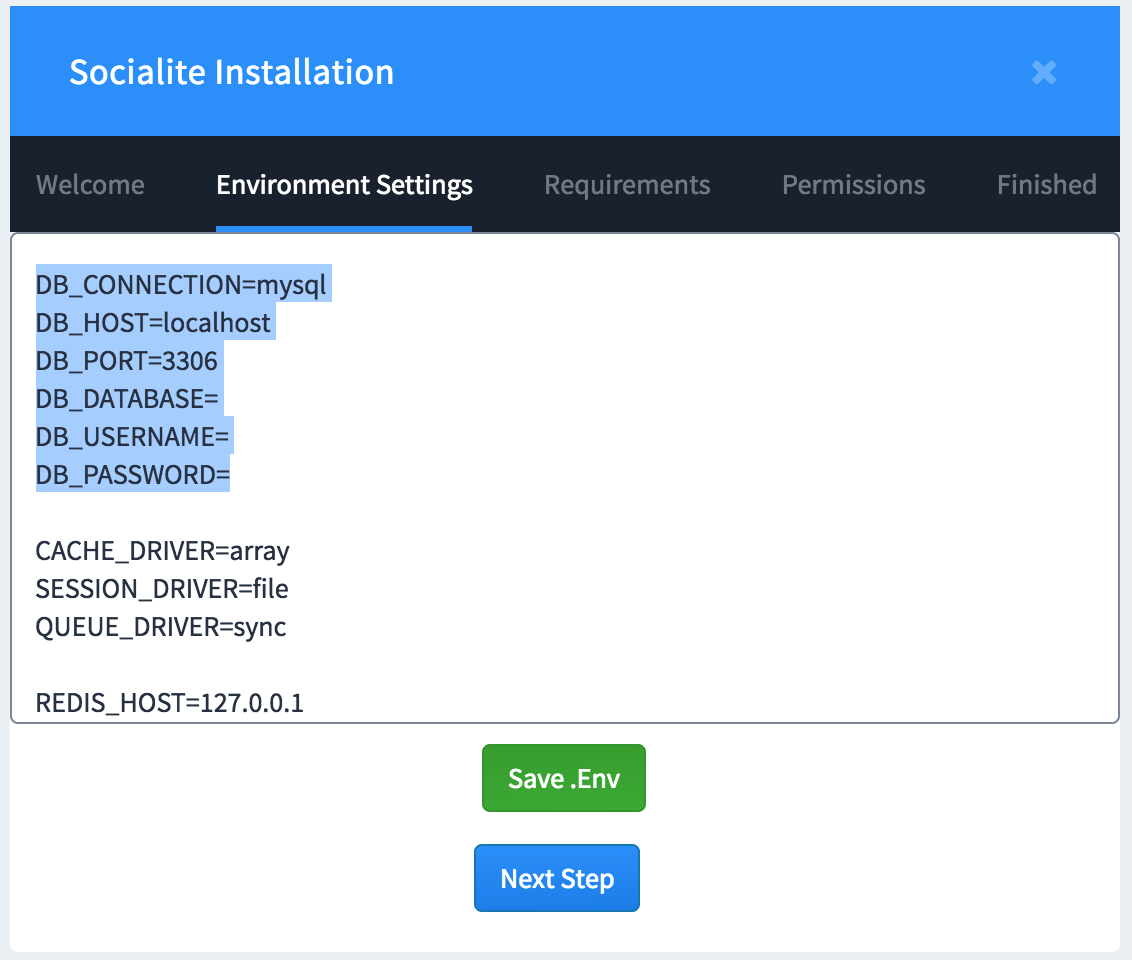
(b) Now you are required to create a new database and corresponding details to be entered as shown below
- Enter the host name for DB_HOST, generally the host name would be localhost
- Enter the newly created database name for DB_DATABASE
- Enter the MySQL username for DB_USERNAME
- Enter the MySQL password for DB_PASSWORD
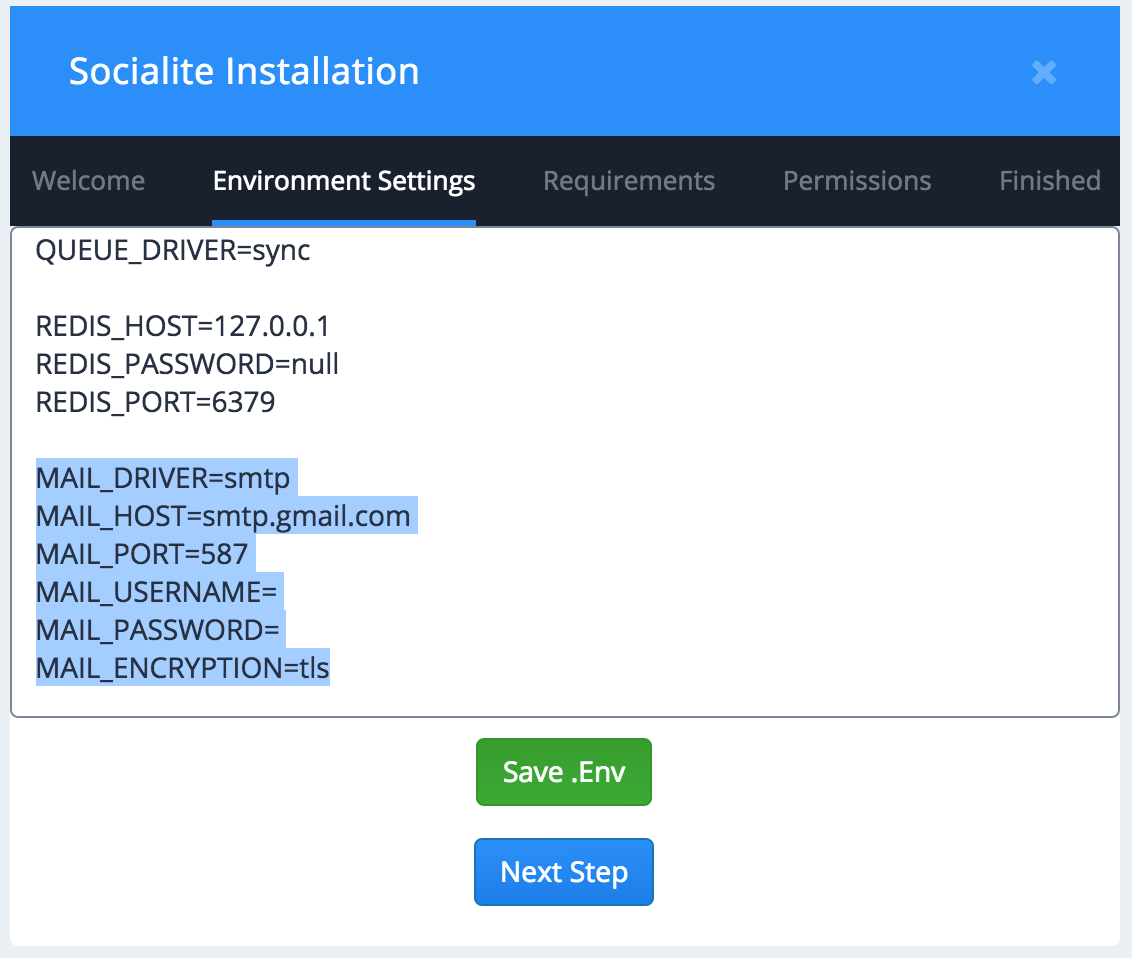
(c) Now we need to add the mail settings. You can add your gmail which could be easy for you.
- Enter your mail driver MAIL_DRIVER
- Enter your mail host name MAIL_HOST
- Enter your mail port number MAIL_PORT
- Enter your mail username MAIL_USERNAME
- Enter your mail password MAIL_PASSWORD
- Enter your mail encryption type MAIL_ENCRYPTION
As per customers requirement, we have already replaced the mailgun with general mail settings in our previous versions and most of them can user gmail but just need a small modification though. Please follow the below instructions
- Please login to the gmail account which you mentioned in your environment settings
- You need to enable "less secure apps" in your gmail account. For this, open the URL: https://www.google.com/settings/security/lesssecureapps and select the option "Turn On".
- For more info about this setting, please check here: https://support.google.com/accounts/answer/6010255?hl=en
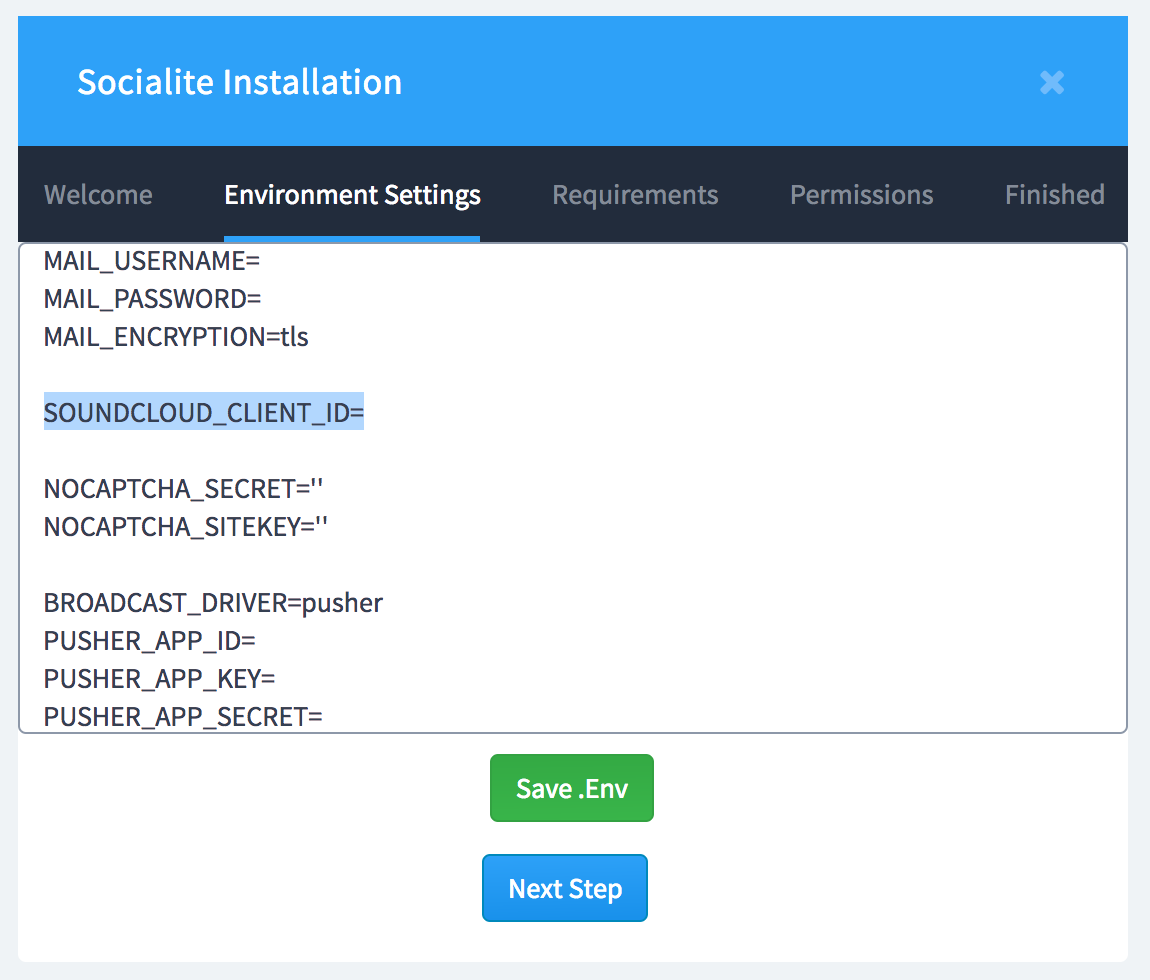
(d) Soundcloud is responsible to add audio music to the posts. If the soundcloud value isn't mentioned, users can't add music to the post. So it's time to add soundcloud setting. This is responsible to add audio music to posts in the script. For this, you need to create a new soundcloud account which is totally FREE. You can create a soundcloud account here: https://soundcloud.com/signin
- Enter your soundcloud client ID for SOUND_CLIENT_ID
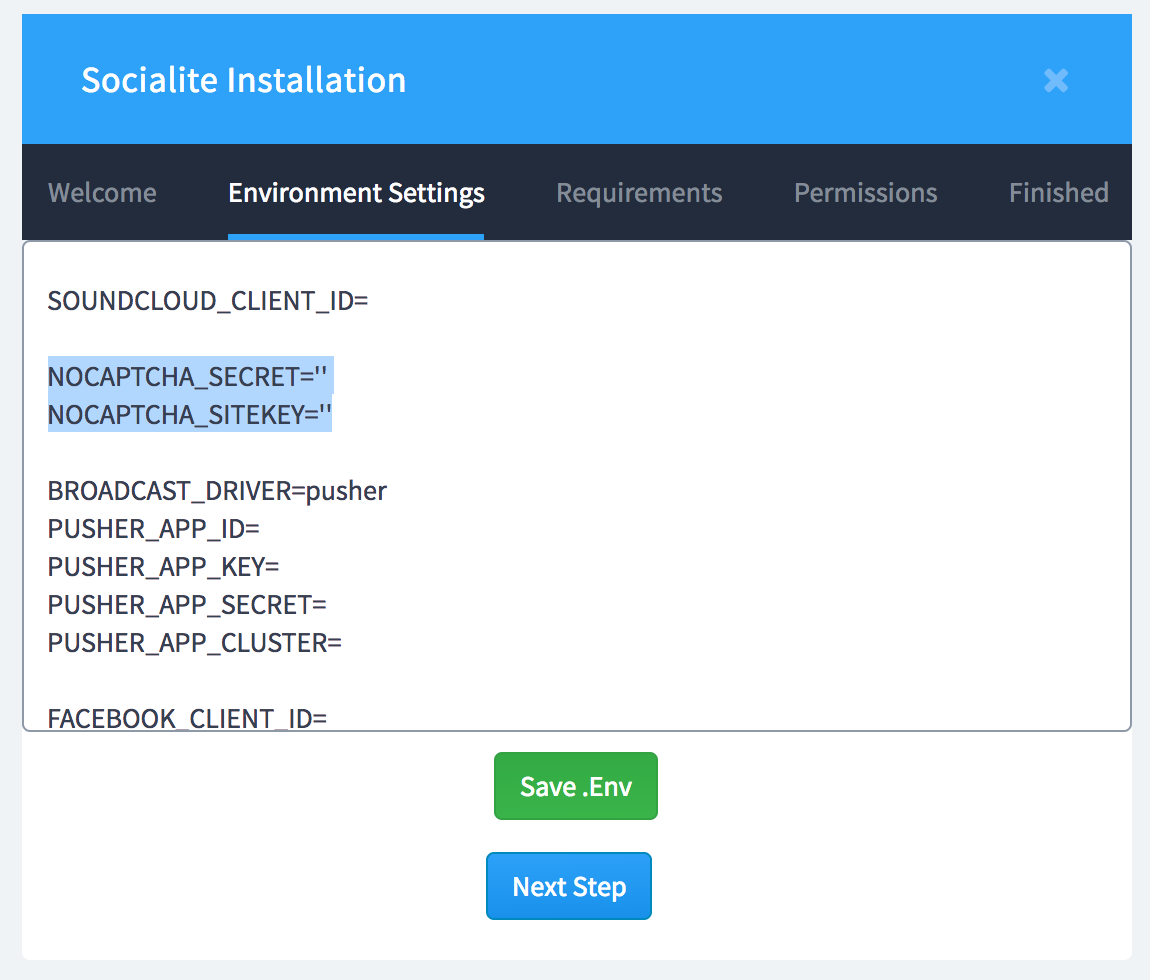
(e) Captcha settings can be set by logging to your gmail account and register your site here: https://www.google.com/recaptcha
- Now enter nocaptcha secret key inside the single quotes for NOCAPTCHA_SECRET
- Enter nocaptcha site key inside the single quotes for NOCAPTCHA_SITEKEY
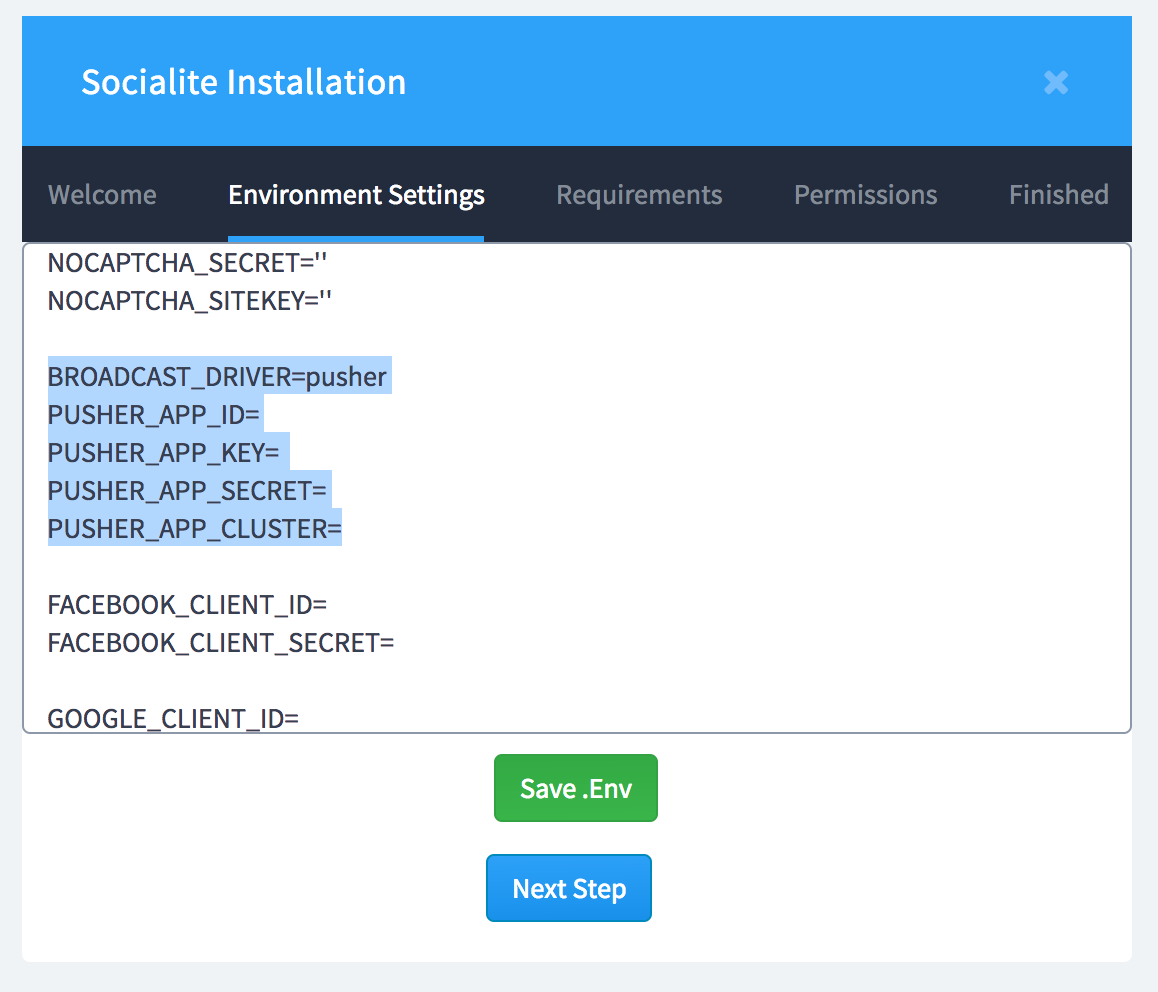
(f)Pusher is responsible for real time notifications and chatbox in the application. Now lets add the pusher settings. Create a pusher account here: https://dashboard.pusher.com/accounts/sign_up which is totally FREE
While creating app in your pusher account, make sure to select the cluster type as "mt1".
- Now enter your pusher key for PUSHER_APP_KEY
- Enter your pusher secret key for PUSHER_APP_SECRET
- Enter your pusher app ID for PUSHER_APP_ID
- Enter the cluster of created pusher app for PUSHER_APP_CLUSTER
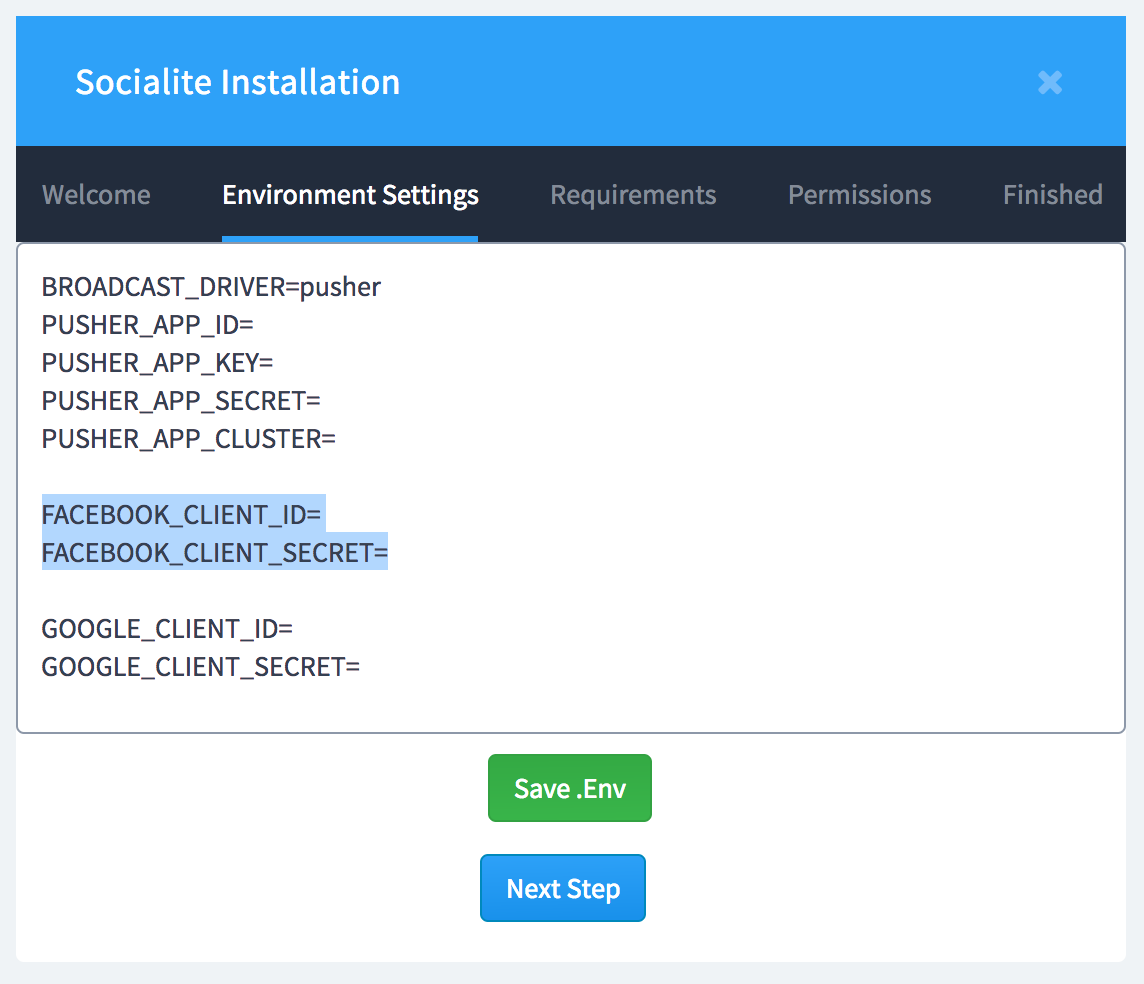
Social settings for social logins
(g) Firstly lets add Facebook login integration. Here are the clear instructions to setup Facebook here: https://bootstrapguru.gitbooks.io/socialite-installation/facebook-app-setup.html
- Enter your Facebook client ID for FACEBOOK_CLIENT_ID
- Enter your Facebook client secret keEy for FACEBOOK_CLIENT_SECRET
(h) Add google login integration. Click this link for clear instructions to setup google application:
https://bootstrapguru.gitbooks.io/socialite-installation/google-app-setup.html
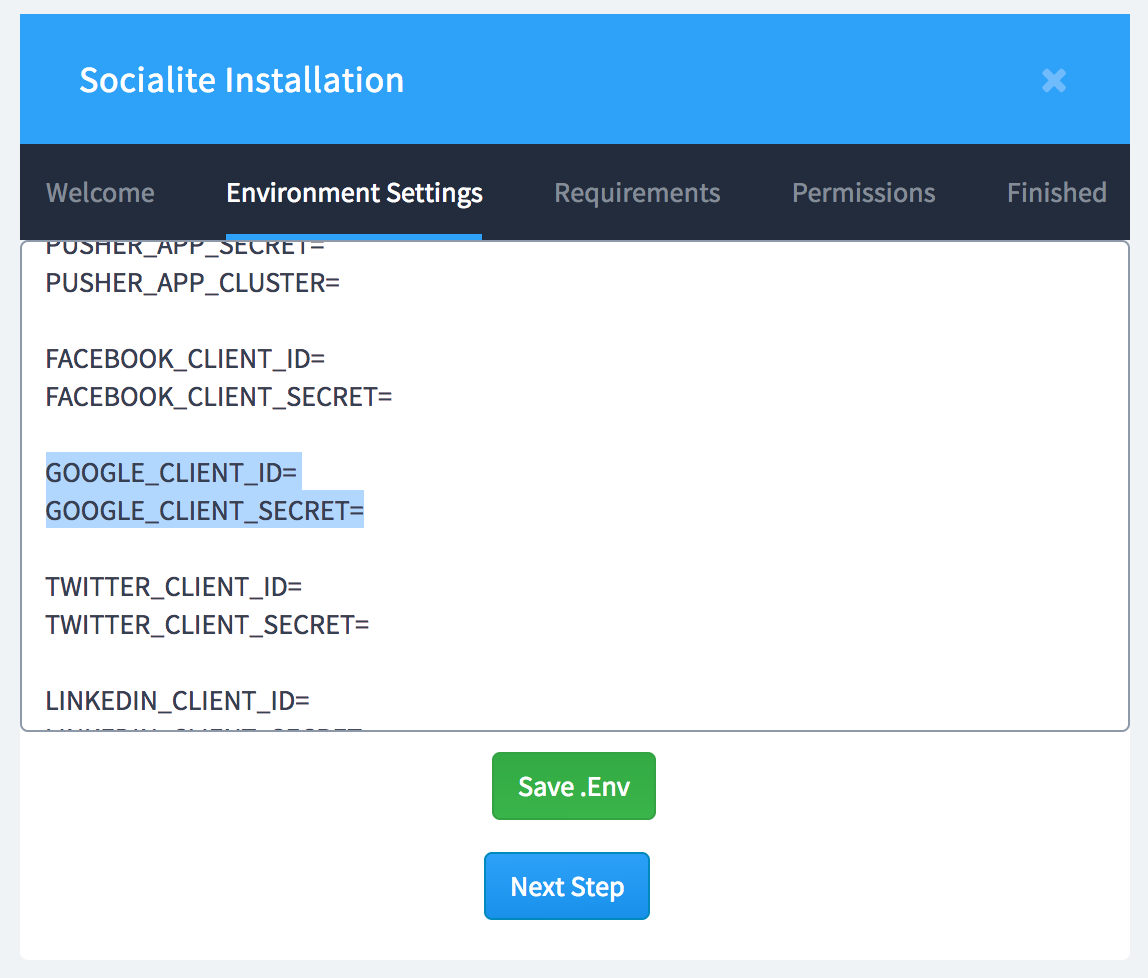
- Enter your Google client ID for GOOGLE_CLIENT_ID
- Enter your Google client secret key for GOOGLE_CLIENT_SECRET
(i) Add Twitter login integration. Click this link for clear instructions to setup Twitter application: https://bootstrapguru.gitbooks.io/socialite-installation/twitter-app-setup.html
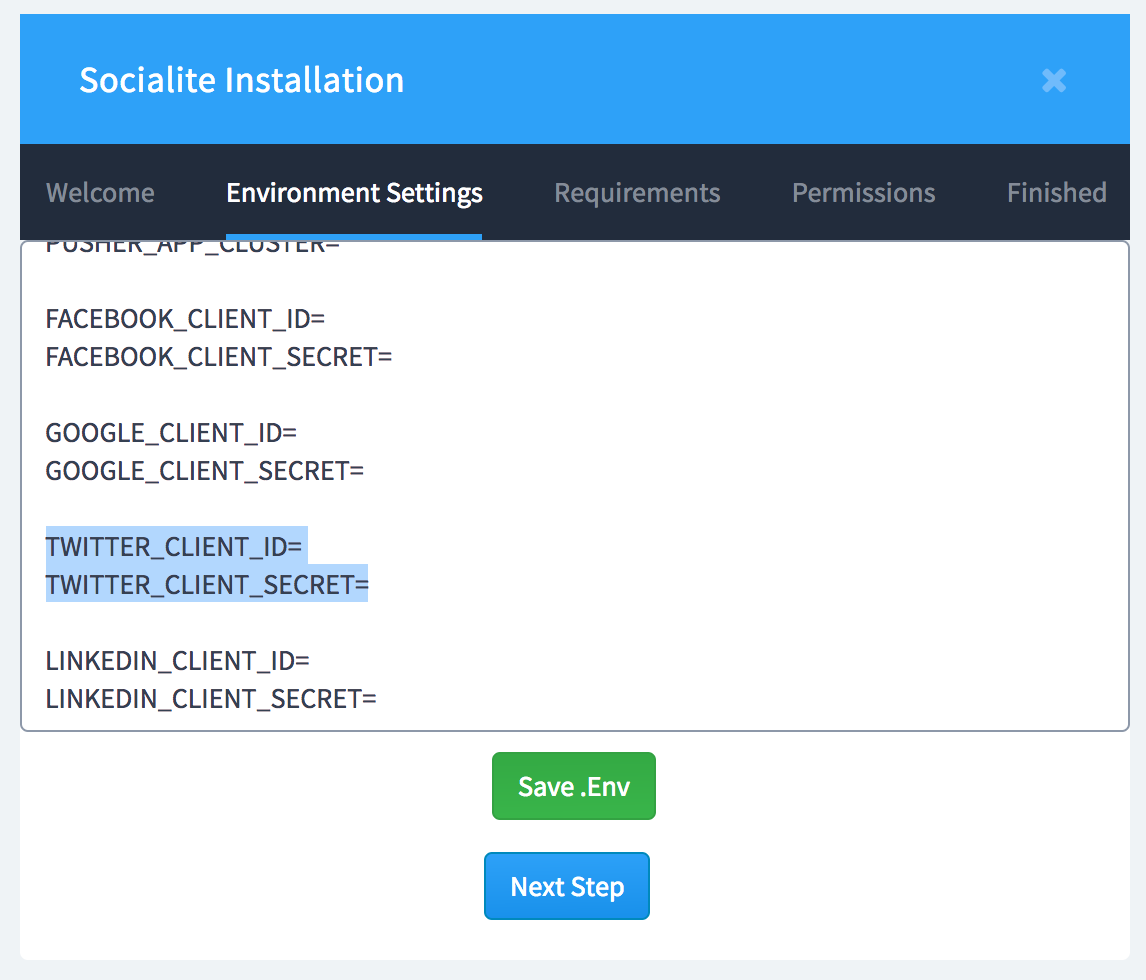
- Enter your Twitter client ID for TWITTER_CLIENT_ID
- Enter your twitter client secret key for TWITTER_CLIENT_SECRET
(j) Add LinkedIn login integration. Click this link for clear instructions to setup LinkedIn application: https://auth0.com/docs/connections/social/linkedin
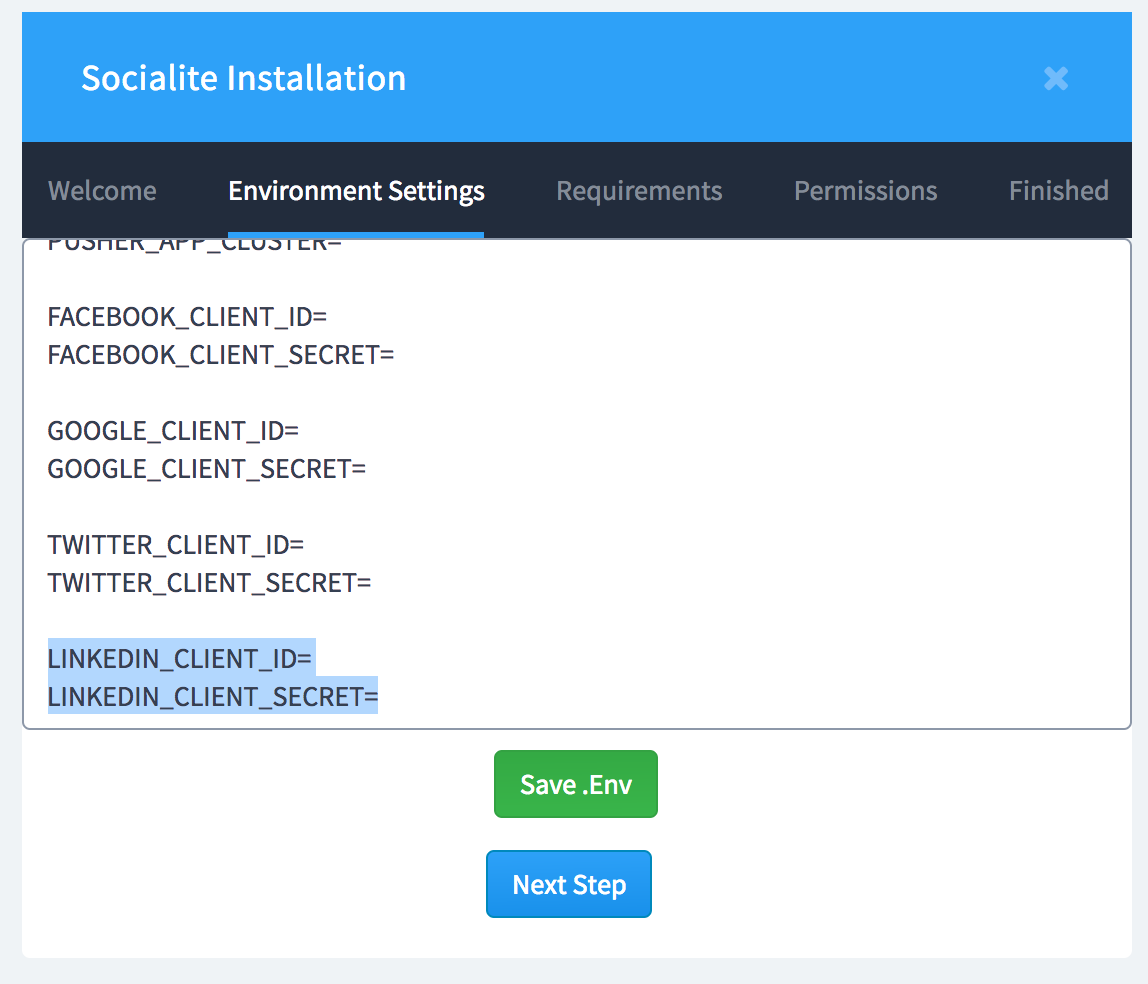
- Enter your LinkedIn client ID for LINKEDIN_CLIENT_ID
- Enter your LinkedIn client secret key for LINKEDIN_CLIENT_SECRET
(h) Google maps are required for adding location while creating an event in the application. You are required to have a google maps API key for event creation
Google maps API key can be created here and its FREE: https://developers.google.com/maps/documentation/javascript/get-api-key

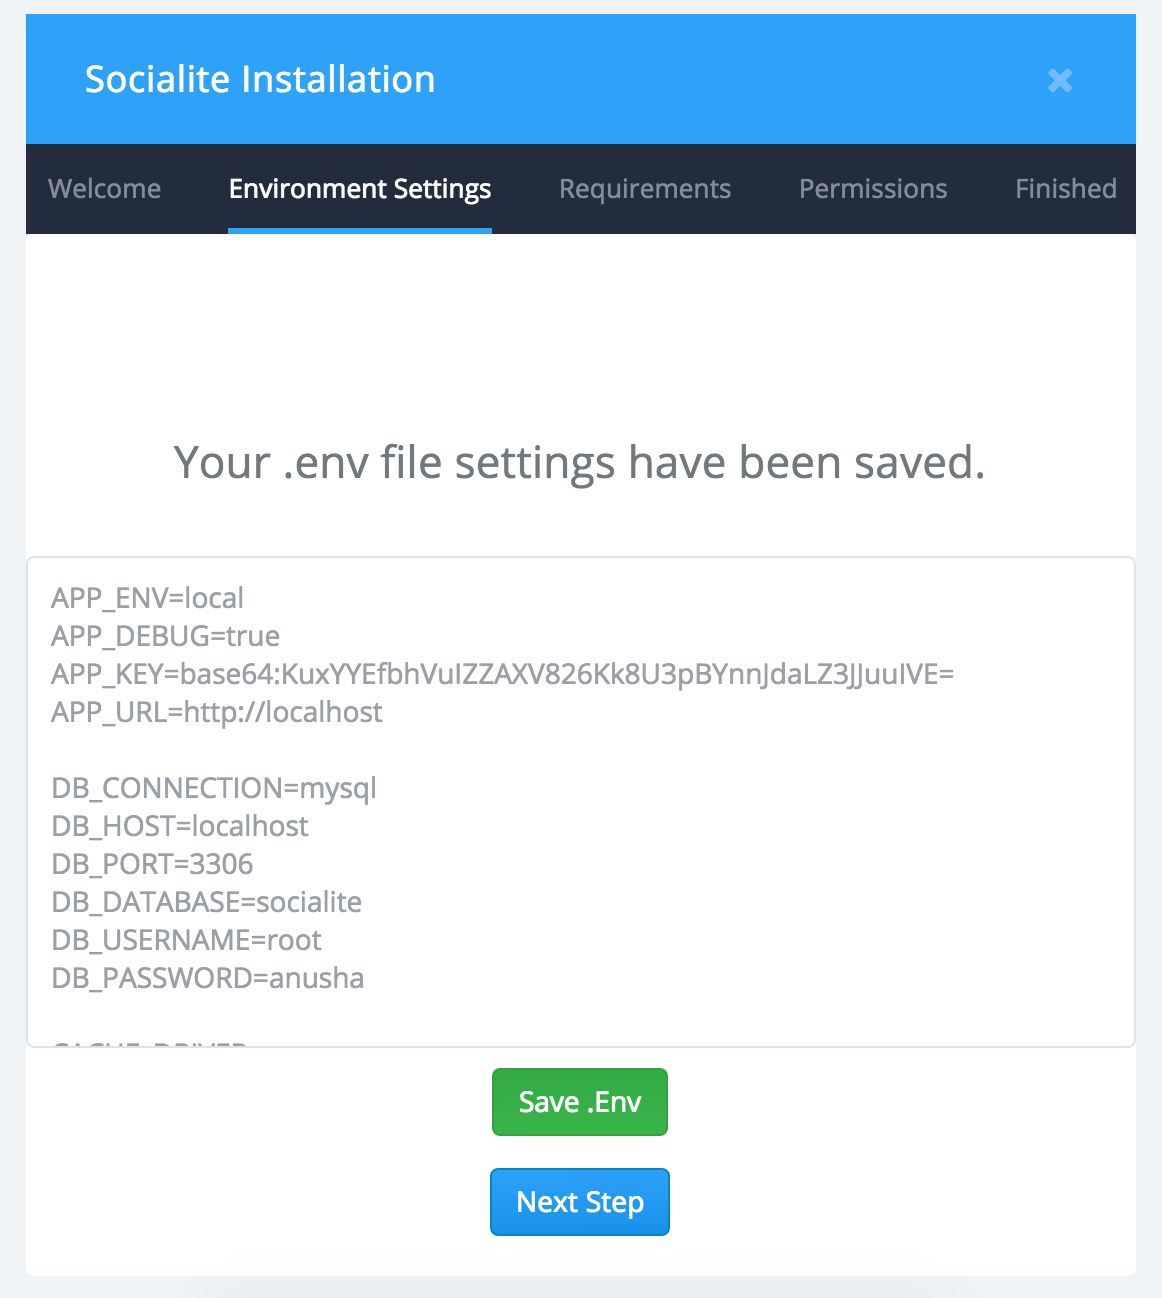
We have mentioned all the settings correctly and the most important step is to click the button "Save .Env" which saves all the settings and you can see the below screen
After saving the settings, move on to next by clicking the button "Next Step"
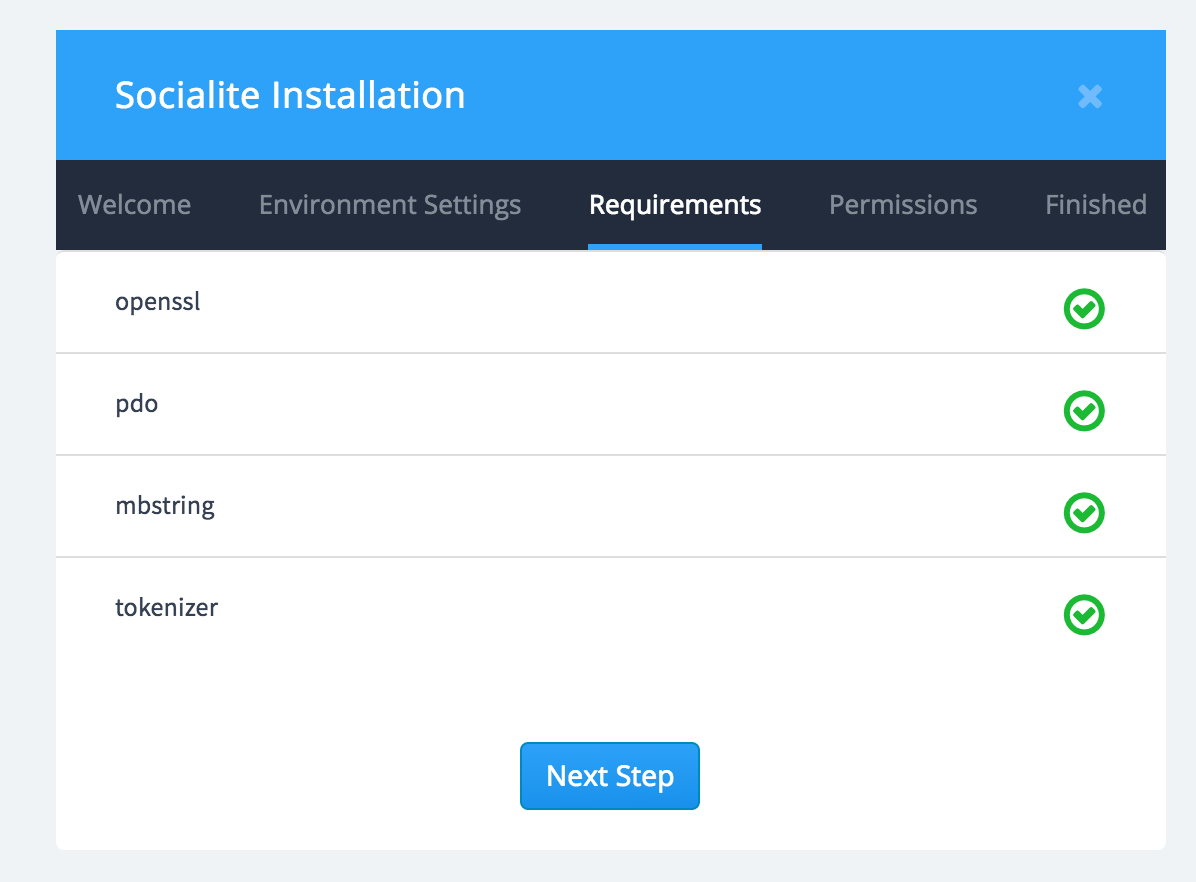
Here is the screen which checks whether the requirements are met. If you see a green checkmark as shown in the figure it does mean that you are free to move on to next step otherwise please make sure to have the mentioned requirements
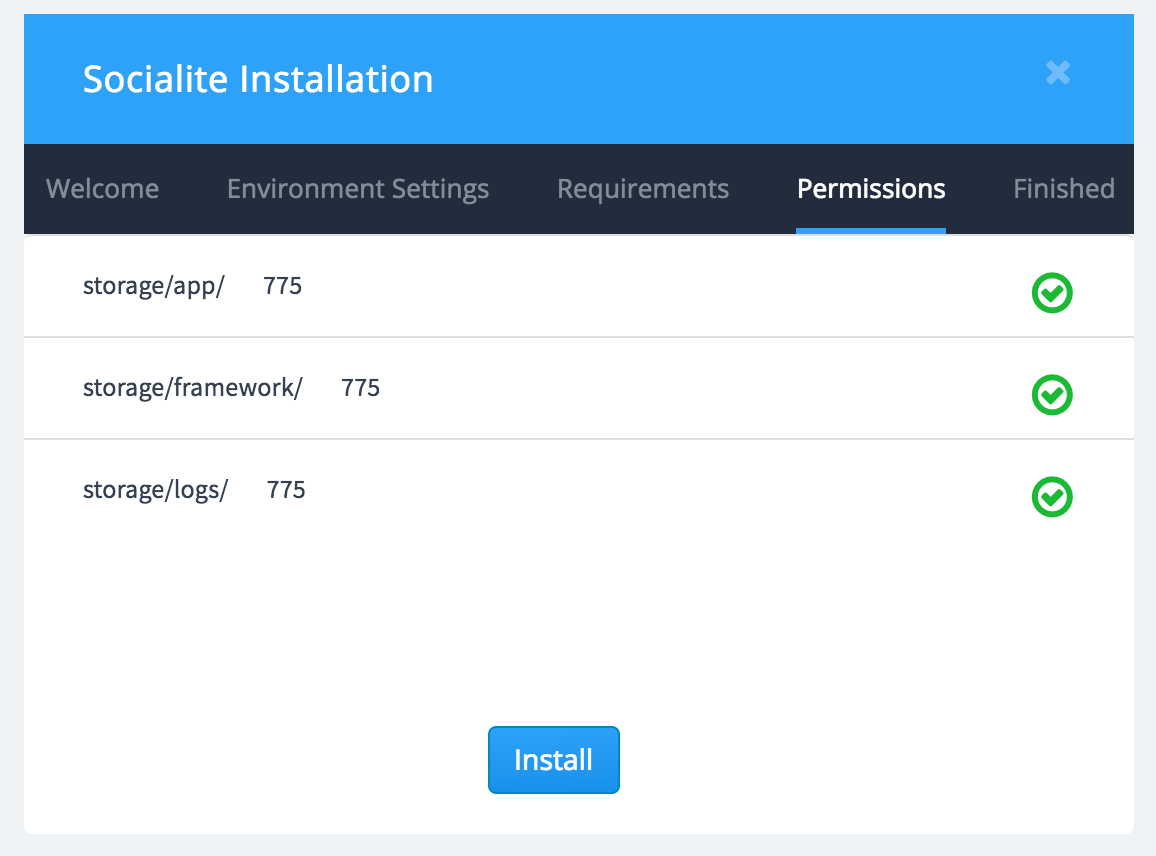
This is the permissions screen which checks whether the required folders have the mentioned permissions. Once your enter the screen , your screen will just look like the below image, so you are requested to edit the folder permissions as show in the figure

Once the permissions are updated as required, click the "permissions" tab again and the your screen will look like the image below. Now move on to next step
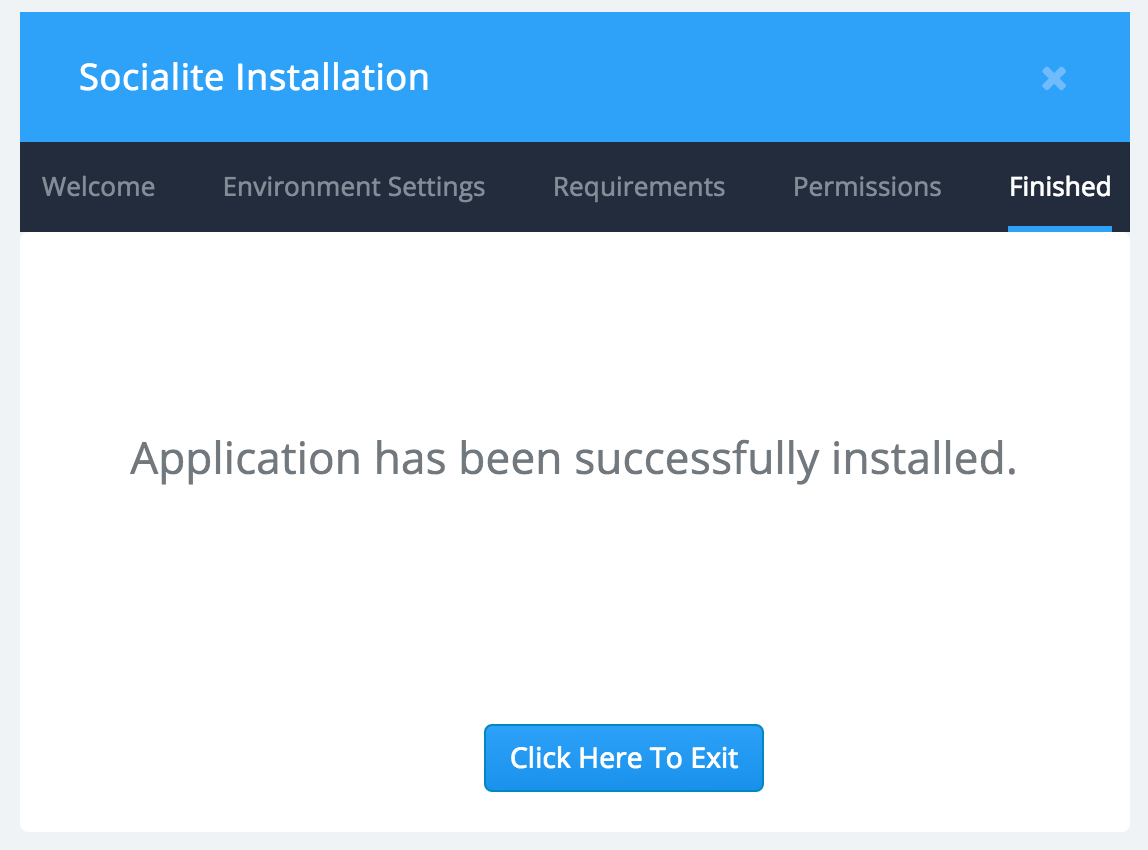
Yay!!! you are all set to go if you see the below image in the final step!
Here is the admin login credentials and you can change it too! An Admin can also play the role of an User but the User is restricted to his role.
Username: bootstrapguru
Password: socialite
After logging in, you can access the admin panel with below link. If you are using apache server, the URL is "http://example.com/admin" or for any other server it is "http://example.com/public/admin"
http://example.com/admin
Once the installation is completely done, Log in to admin area, goto "Environment settings" menu on left panel and find the below line:
SESSION_DRIVER=file
and replace it with
SESSION_DRIVER=database